
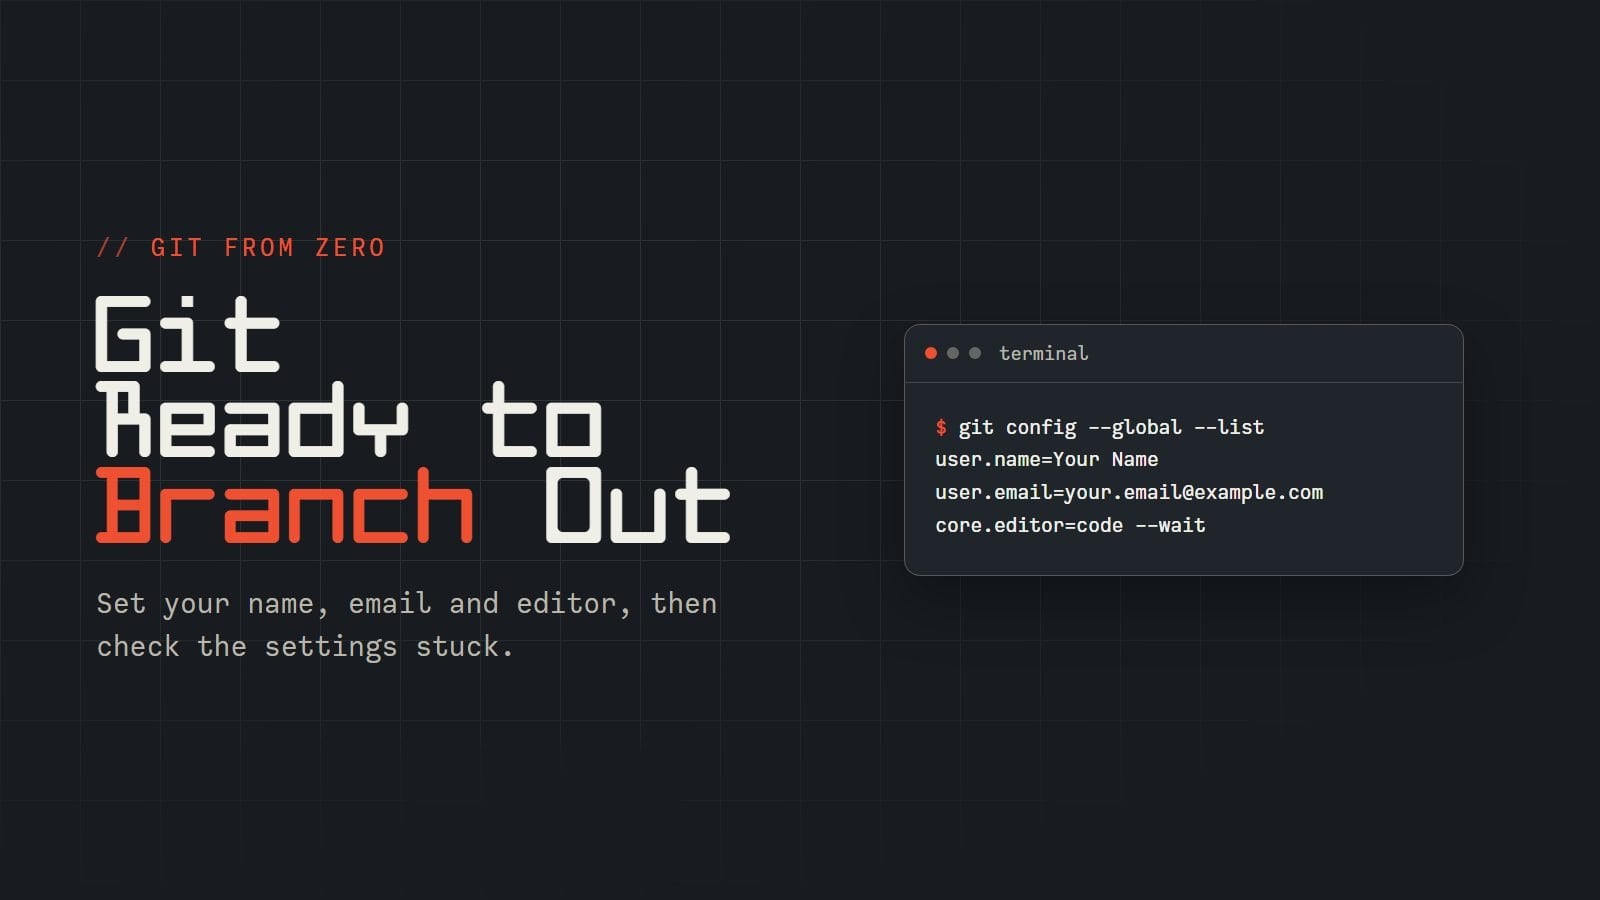
Git Ready to Branch Out
Setup: Your Name, Email and Editor
Canonical: https://journeytocode.io/git-ready-to-branch-out/
In plain words: Git stamps your name and email on everything you save. In about ten minutes you will tell Git who you are, pick the editor it opens for longer messages, and check that the settings stuck. You do not need a GitHub account for any of this.
Why Git needs to know who you are
Every commit (a saved snapshot of your project) records who made it. If Git does not have a name and email from you, it either stops and asks, or it guesses from your computer's account name, which is rarely what you want on a shared project. It also needs an editor for the times a command wants a longer message from you. Both are one-time, per-computer settings.
This is part 2 of a series that takes Git from first commands to team workflows. Each part stands on its own, so you can start here:
Git Out of Your Comfort Zone - what Git is,
log,diff, andbranch.Git Ready to Branch Out (this article) - first-time setup.
Getting Started with Git - repositories, the staging area, and your first commits.
Undo Mistakes Safely - discarding edits, amending, reverting, and getting lost commits back.
Branching and Merging Strategies - parallel lines of work, merging, and conflicts.
Remote Repositories and Collaboration - sharing work through GitHub and friends.
Advanced Git Features - stashing, rewriting history, and hooks.
Git Best Practices and Workflows - team workflows, commit messages, and releases.
Tell Git who you are
Git signs every commit with a name and email, so the first job on a new machine is to tell it who you are. Try the setup commands here before you run them for real. Quotes around a value are optional when it has no spaces.
Practice terminal · first-time setup
Type these commands in order, in a terminal inside a practice folder:
- Set your name. Use any name. Try
git config --global user.name "Your Name". Git now stamps the value you typed on every commit you make. Without--globalit applies to this repository only. - Set your email. Try
git config --global user.email "you@example.com". Use the same email as your GitHub account so your commits link to you. - Choose an editor for commit messages (any editor; VS Code is
code --wait). Trygit config --global core.editor "code --wait". Git will now open the value you typed when it needs a commit message. VS Code needs--waitso Git pauses until you close the tab. Any editor command is accepted:vim,nano,code --wait. - Open the manual page for git commit. Try
git commit --help. Every Git command has built-in help. You just used a pager: space moves down a page, b back, j and k one line, and q quits.git help commitworks too.
Try the interactive Git practice terminal on the canonical article.
The --global flag stores the answer for every repository on your computer, so you only do this once per machine. Leave it off and the setting applies to the current repository only. If you have a GitHub account, use the same email there so GitHub links your commits to you; if you do not, any address works for now.
Now run the same commands for real in your own terminal:
git config --global user.name "Your Name"
git config --global user.email "your.email@example.com"
Pick an editor that is not VIM
Some installs default to VIM, whose keyboard shortcuts surprise most newcomers. Point Git at an editor you already know instead:
# For VS Code
git config --global core.editor "code --wait"

# For Sublime Text
git config --global core.editor "subl -w"

# For Notepad++ (Windows)
git config --global core.editor "'C:/Program Files/Notepad++/notepad++.exe' -multiInst -notabbar -nosession -noPlugin"
If VIM opens anyway, press Esc, type :wq, and press Enter to save and leave.
Check that it stuck
A setting you cannot see is a setting you cannot trust. Ask Git to list everything you have set for your user account:
git config --global --list
You should see your values among the lines, in a name=value form. Yours will differ, and other lines may appear too:
$ git config --global --list
user.name=Your Name
user.email=your.email@example.com
core.editor=code --wait
To read a single setting, name it: git config user.name prints only your name.
Challenge: set it, then prove it
Set your name and email as above (use your own values), then answer from the terminal alone: what does git config user.email print? Expected result: the exact address you typed, and nothing else. If it prints nothing, the setting did not land; check for a typo in user.email.
Tip: Setting a value is
git config --global <key> "<value>". Reading one is the same command without the value and without--global.
Question: You ran git config --global user.name "Ada". Where does that setting apply?
- To every repository on this computer, for your user account
- Only to the repository in the current folder
- To the remote repository on GitHub
Answer: 1. To every repository on this computer, for your user account
Explanation:
--globalwrites to your user-level Git configuration. Without it, the setting is saved in the current repository only. Nothing is sent to a remote.
Question: You ran git log --help and a manual page is filling your terminal. How do you get out of it?
- Press
Ctrl+S - Press
q - Type
exitand press Enter
Answer: 2. Press q
Explanation: Manual pages and
git logboth display through thelesspager, andqquits it.
Optional: a command-line refresher
Git is used mostly from the terminal. If these commands are already familiar, skip this section.
pwd shows where you are, ls (Unix/Mac) or dir (Windows) lists what is in the folder, and cd moves between folders:
$ pwd
/Users/username/projects
$ ls
README.md    src/    package.json    .gitignore
$ cd src                # Move into the src directory
$ cd ..                 # Move up one directory
$ cd ~/projects/website # Move to a specific path
mkdir makes a folder, touch (Unix/Mac) or echo.> (Windows cmd) makes an empty file, and rm (Unix/Mac) or del (Windows) removes one:
# Unix/Mac
mkdir new-project
touch README.md
rm unwanted-file.txt
rm -r old-directory       # Remove directory and contents

# Windows (cmd)
mkdir new-project
echo.> README.md
del unwanted-file.txt
rmdir /s old-directory    # Remove directory and contents
Removing from the terminal skips the recycle bin, so check the name before you press Enter. For help on any Git command, add --help (git log --help), or on Unix/Mac use man git-commit. The pager rules from the practice terminal apply: q quits.
For supplemental learning, these are worth a bookmark: the official Git documentation, the free Pro Git book, and the Atlassian Git tutorials.
What comes next
With your name, email, and editor set, Git is ready for real work. Part 3, Getting Started with Git, turns a folder into a repository and makes your first commits. Join the discussion on the canonical article
About the author
- Web developer building full-stack applications with JavaScript, React, Node.js, and modern web APIs.
Comments
Join the discussionNo comments yet. Be the first to comment.
Commit to Success: Mastering Git From Init to Push
Master Git from basic commands to advanced workflows in 8 parts. Your complete journey to version control expertise.